
Nobody warned me about my ears. I spent years running a miter saw with nothing between the blade noise and my eardrums, because that's what every man I knew did. My dad worked a lifetime on job sites and could barely hear a knock at the door by the time he hit sixty. I didn't want that path, but I was too stubborn and too busy to think about it until the house became my project.
Then my husband passed, and the fix-it list landed on my kitchen table. Deck boards, shelving, trim, a bathroom refresh, a raised garden bed. I started reading labels the way he never did, and the first thing I bought for myself was a pair of Pro For Sho 34dB NRR ear muffs. They're not fancy. They clamp on, they block the noise, and they cost less than my Tuesday-night bowling shoes do. But the real lesson wasn't the muffs. It was the habit, and this is how I built it, so you don't have to learn about hearing the way my dad did.
The Muffs I Reach For Before Every Cut
The Pro For Sho 34dB NRR muffs live on my pegboard next to the miter saw. Light enough to forget you are wearing them, strong enough to bring a circular saw down to a safe level. Check today's price on Amazon before you start your next project.
Amazon Check Today's Price on Amazon →Step 1: Know the Numbers Before You Pull the Trigger
Hearing damage is sneaky because it's painless. You don't feel your ears wearing down the way you feel a bad back. But the damage is real, and it's permanent. Tiny hairs inside your inner ear do the actual listening, and when loud noise flattens them, they don't grow back. That's not a theory. That's how the human ear works.
The number to remember is 85 decibels. That's roughly a busy street corner or a running blender. Anything louder, and your safe listening time starts shrinking fast. At 90 decibels, which is a lawn mower, two hours a day is about the limit. At 100 decibels, which is your average circular saw or miter saw, safe exposure drops to fifteen minutes. A table saw can run closer to 110, where the safe time is measured in minutes, not hours. I pointed my phone at my own saw one Saturday and it read 103.
So when I tell you to wear ear protection, I'm not being dramatic. I'm doing subtraction. Fifteen minutes sounds like a long time until you remember that a Saturday of deck work is maybe four hours of actual cutting. That's sixteen times your safe dose, in one weekend, every weekend, all summer. The muffs aren't an accessory. They're the thing that lets you keep doing the projects you love without paying for them later.
Step 2: Pick a Pair That Seals, Not Just a Pair With a Big Number
Every box of hearing protection has a number on it. The NRR, which stands for Noise Reduction Rating, tells you how much noise the product is supposed to block, and the bigger the number, the more protection the label claims. The Pro For Sho muffs are rated at 34dB NRR, which is about as high as passive muffs go. But that rating only counts if the muff actually fits your head.
Here's the part nobody puts on the box. Real-world protection usually lands around half the rated number, so 34dB NRR often turns into something closer to 17 or 20 decibels of actual reduction, depending on how well you seal. That sounds like a letdown. But do the addition. If a saw is running at 105 decibels and the muffs take off even 17, you land right around 88. That's walking on the safe side of 85.
That's why fit matters more than the sticker. The seal is everything. If a cup sits crooked or the band doesn't hug your head, the muff does almost nothing, because sound pours in around the edges. The Pro For Sho muffs have padded cups and an adjustable band, and I have a small head, which a lot of muffs apparently don't believe in. These clamp evenly without squeezing my temples, and once I set the size, I never touch it again.
Step 3: Put Them On Like You Mean It, Every Time
The most common mistake I see is what I call the necklace move. A person walks into the garage, slides the muffs on for the first cut, then lets them hang around the neck between cuts so they can hear the phone. By the third trip back to the saw, they forget to lift them up again. Two hours later, they've had all the noise exposure and none of the protection.
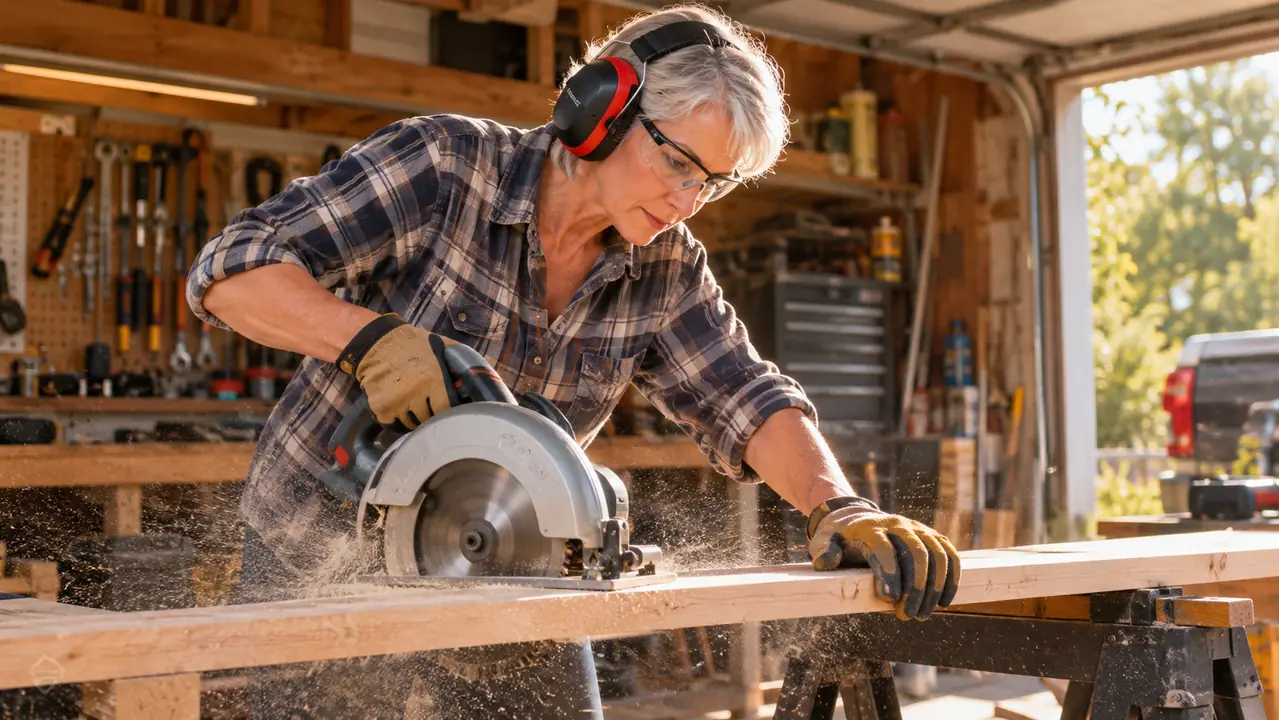
Here's exactly how I put mine on. I pull my hair back first, because one strand under the cushion breaks the seal against my cheek. I wear reading glasses at the bench, so I tuck the arms flat under the cushions before I settle them. Then I set the band over the top of my head, not behind my neck, and I wiggle the cups until they sit level over both ears. I give a gentle push inward. If the pressure feels even on both sides, the seal is right.
Here's a four-second test. Talk out loud or clap your hands once. Your own voice should sound slightly muffled, like you're talking into a pillow. If your voice sounds normal, the cups aren't doing their job. I do this check every single time now. It turns ear protection from a guess into a certainty, and it takes less time than finding the right socket.
Step 4: Wear Them Even for the Ten-Second Cut
This is the step that took me the longest to learn. A person can tell themselves it's just one quick cut, ten seconds, the saw will barely warm up. I've done that exact math, and the saw doesn't care about my math. Loud noise is cumulative. It stacks up across the day, across the week, across the years, and none of those ten-second cuts are free. When I re-did the bathroom trim last winter I must have made forty cuts in one afternoon, and a dozen of them were under ten seconds.
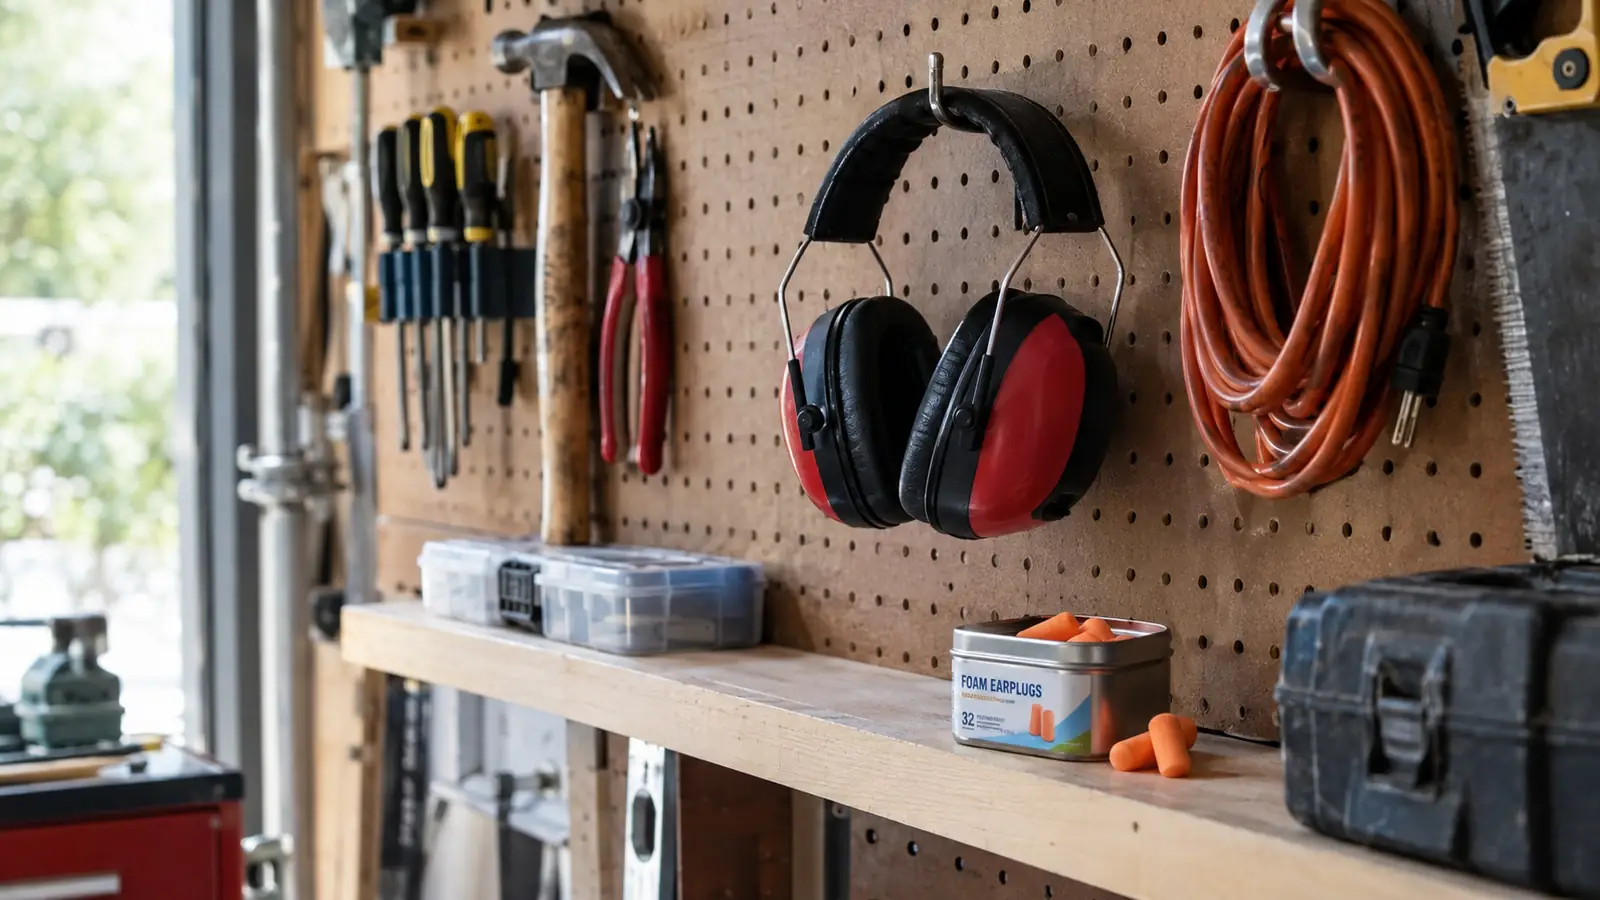
The fix for me was removing the friction. The Pro For Sho muffs are light enough and affordable enough that I bought two pairs, one hanging on the pegboard by the miter saw and one on the workbench by the drill station. If the muffs are already right where my hand lands, I have no reason to skip them. The habit stops being a decision and turns into a reflex, exactly like my safety glasses.
Do the same in your shop. Keep a pair at every station where you make noise, and keep a spare near the door for the neighbor kid who wants to help. When protection is within arm's reach of the trigger, you wear it. When it lives in a drawer in the house, you skip it. Design your workspace for the lazy version of yourself, because that's the version who shows up on a hot Saturday at the end of a long week.
Step 5: Keep Them Sealing So They Keep Protecting
Ear muffs wear out, and the first thing to go is the foam in the cushions. After a couple of seasons, the foam gets stiff and the cushions get flat, and a stiff cushion won't seal the way a fresh one does. I check mine before the first big project each spring and again before the winter jobs. If a cushion doesn't bounce back when I squeeze it, it's time for new pads.
Storage matters more than people think. I hang my muffs on the pegboard hook by the cups, never crammed in a drawer under a pile of rags. Summer heat in a garage or in the cab of a truck is the enemy of foam. Keep them out of direct sun, wipe the cushions with a damp cloth when they get grimy, and check the band for cracks. A muff with a cracked band still looks fine and protects nobody, and that's the worst kind of gear to trust.
Replacement cushions are cheap and easy to find for most pairs. If you can't get the right pads for yours, that's a fair reason to consider a fresh pair, because at the money these run, replacing a worn-out set outright beats the guilt of running loud jobs with soft seals. I keep a spare set of pads in the workbench drawer so I'm never stuck choosing between a loud afternoon and a bad seal.
One more thing I want you to know, because it's the whole reason this habit matters. Your hearing never warns you. It just quietly checks out, the way my dad's did, and by the time you notice the difference it's too late to undo. The only way to keep your ears is to protect them before the damage shows up. That's the whole job, and it takes about four seconds a day.
What Else Helps
Muffs are my everyday choice, but they're not the only tool in the box. Foam earplugs are the right call when the weather is hot, when you're lying on your back under a sink and a muff keeps sliding, or when you need protection for a whole afternoon of someone else's noise. Foam plugs take a little practice to roll and seat right, but a box of them is cheap insurance to keep on the shelf. You can even wear plugs under the muffs for the truly punishing stuff like a planer or a jackhammer. That's called double protection, and it's exactly as effective as it sounds.
The other half of protecting your hearing has nothing to do with your ears. A quieter blade and a sharp one will make a saw run smoother, and the noise goes down with the strain. A scrap of carpet under the workbench soaks up some of the bounce. Take a real five-minute break away from the shop between long sessions, because ears recover when you give them quiet. And at your next checkup, ask about a hearing test the same way you ask about your blood pressure. I caught a small dip in the high range at fifty-five, and I've kept it from getting worse since.
If you want to see the numbers for yourself, a sound level app on your phone will show you how loud your own shop really is. Point it at your miter saw one afternoon, and the reading will make the whole habit stick better than anything I can write here. My own saw read 103 decibels that Saturday, and I have not skipped the muffs once since.
A circular saw runs 100 to 110 decibels. Damage starts at 85. Putting ear muffs on is not being delicate. It is doing arithmetic.
Start Your Next Project With the Right Protection
The Pro For Sho 34dB NRR muffs are the pair I keep within reach of every tool I own. They seal, they last, and they let me keep doing the work I love without paying for it with my hearing. See today's price on Amazon before your next weekend of projects.
Amazon Check Today's Price on Amazon →