
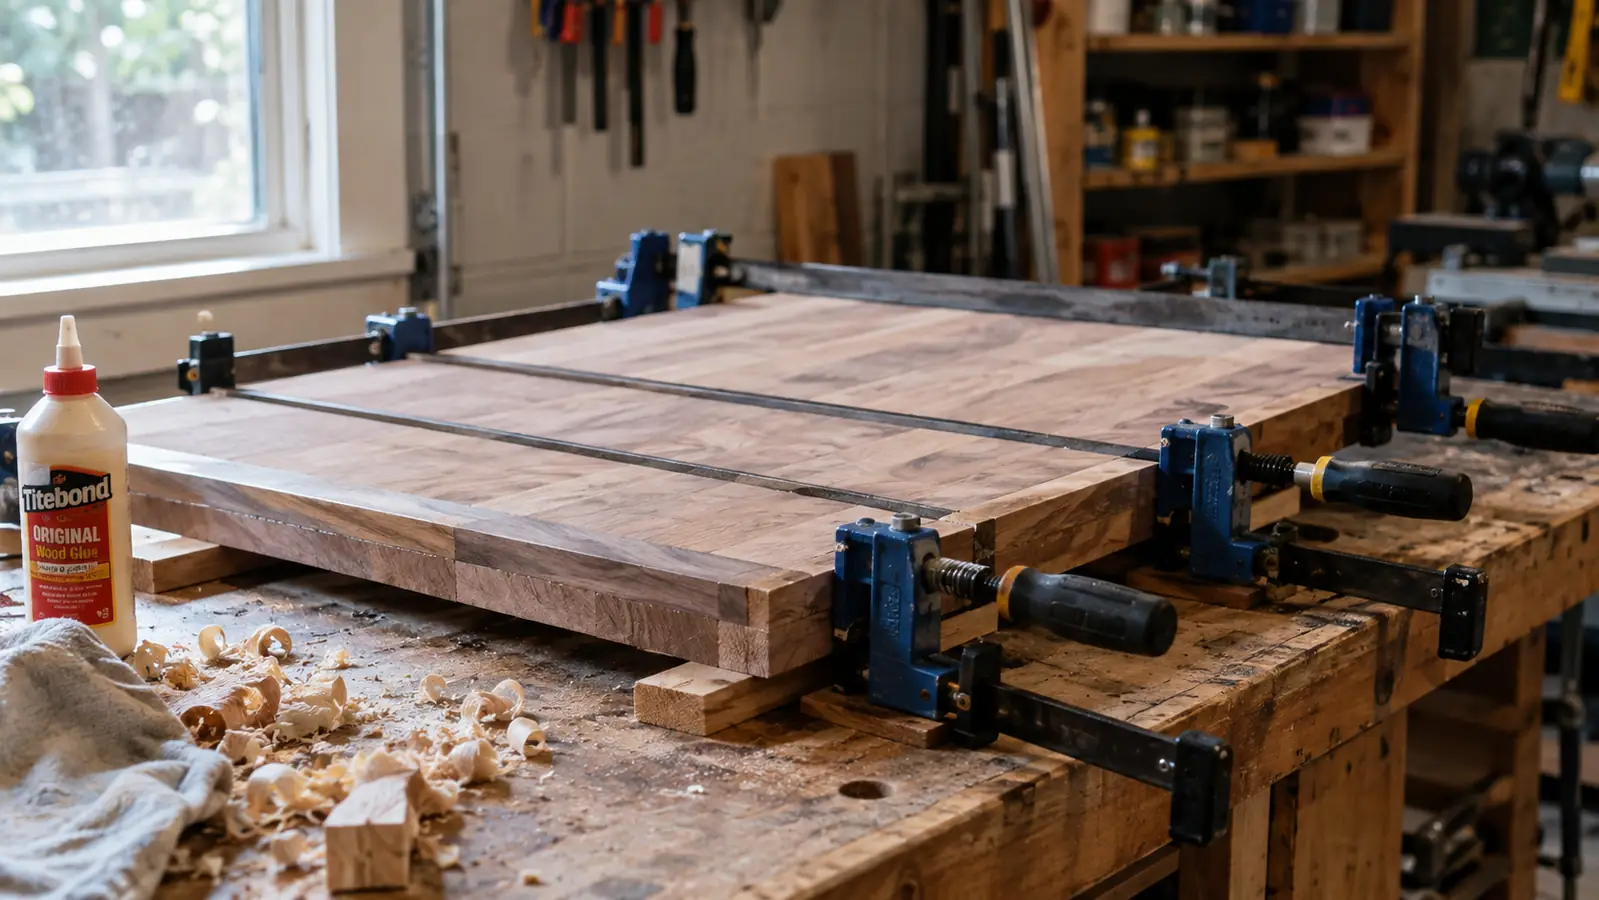
The first time I glued up a panel for a tabletop, I used every C-clamp I owned plus a stack of heavy books, and I still ended up with a wavy seam and a gap you could slide a nickel into. The second time, I borrowed a set of IRWIN Quick-Grip one-handed mini bar clamps from a friend at the bowling league, and the difference was so obvious I bought my own 4-pack before the glue was even dry. If you have ever stood in the hardware aisle wondering whether you really need another clamp, this one is for you.
A bar clamp is the tool that turns a frustrating glue-up into a twenty-minute job. The IRWIN Quick-Grip 1964758 One-Handed Mini Bar Clamp 4 Pack, 6 inch, is the set I reach for first on my workbench, and in this guide I will walk you through the whole process: choosing the right boards, getting the edges ready, laying out the clamps, applying the glue, and letting the panel cure flat.
The clamps that made my panel glue-ups boring (in the best way)
The IRWIN Quick-Grip one-handed mini bar clamps squeeze with a trigger, hold with a real grip, and release with a button. That is the whole job, done well. If you are ready to stop fighting C-clamps, this is the set to start with.
Amazon Check Today's Price on Amazon →Step 1: Pick boards that will stay flat
A panel is only as good as the boards you start with. I look for boards that are dry, straight, and roughly the same thickness. If one board is a sixteenth thicker than its neighbor, you will be sanding that difference for a long time. I also check the grain direction. It is not a hard rule, but I like to alternate the end grain, cup up, cup down, so the natural movement of the wood tends to cancel itself out.
For a first panel, I would use something forgiving like poplar or pine. They are soft enough to sand easily and cheap enough that a mistake does not hurt. I keep my boards in the garage for a few days before a glue-up so they can get used to the same humidity they will live in. Wood moves, and a panel that was flat in the shop can still cup later if the boards were not acclimated. Last fall I glued up a utility shelf out of three pine boards I had stacked in the garage for six weeks. Two of them had bowed a little by the time I got around to the project, and I flattened the worst one with a hand plane before I trusted it. I also check the boards with a moisture meter; wood that reads around 8 to 9 percent is about right for a heated house here in Spokane.
One more thing: check the edges before you commit. I run my thumb along each edge to feel for burn marks or rough spots from the saw. A clean edge is the difference between a glue line you have to look for and a glue line you cannot hide. Last March I skipped that check on one board for a small end table. The edge looked fine in the garage light, but under a bright work light I could see a row of tiny burn marks from the table saw blade. I sanded them out before gluing, and the joint came out clean. That ten-minute check saved me from a glue line I would have stared at every time I walked past the table.
Step 2: Get the edges ready to mate
The edges of your boards need to meet with no daylight between them. I use a jointer when I have one, but a table saw with a good blade or even a hand plane works fine. The goal is the same: two edges that touch along their full length. If you can see light through the seam before you add glue, you will see a gap after, and no clamp in the world will fix that. I learned this the hard way on a pair of boards with a slight bow. The clamps pulled the ends together, but the middle of the joint stayed open no matter how hard I cranked. I had to take the panel apart, joint the edges properly, and start over. No amount of clamping pressure fixes an edge that is not straight.
I do a dry fit before I ever open the glue bottle. I lay the boards on my workbench, butt the edges together, and check the joint with a straightedge. This is also the moment to number the boards with a light pencil mark so I put them back in the same order. It sounds fussy, but it saves you from the panic of trying to remember which edge went where while the glue is already setting. On a small side table I glued up last spring, I numbered the boards 1, 2, and 3 in pencil, and I still checked the dry fit twice. The second check caught a board that had flipped end for end, which would have put the best edge against the worst one.
If the edges are close but not perfect, a few passes with a hand plane or a sanding block on a flat surface will usually get you there. I keep a sheet of adhesive sandpaper stuck to a piece of MDF for exactly this job. It is not fancy, but it is flat, and flat is what matters.
Step 3: Lay out your clamps before the glue
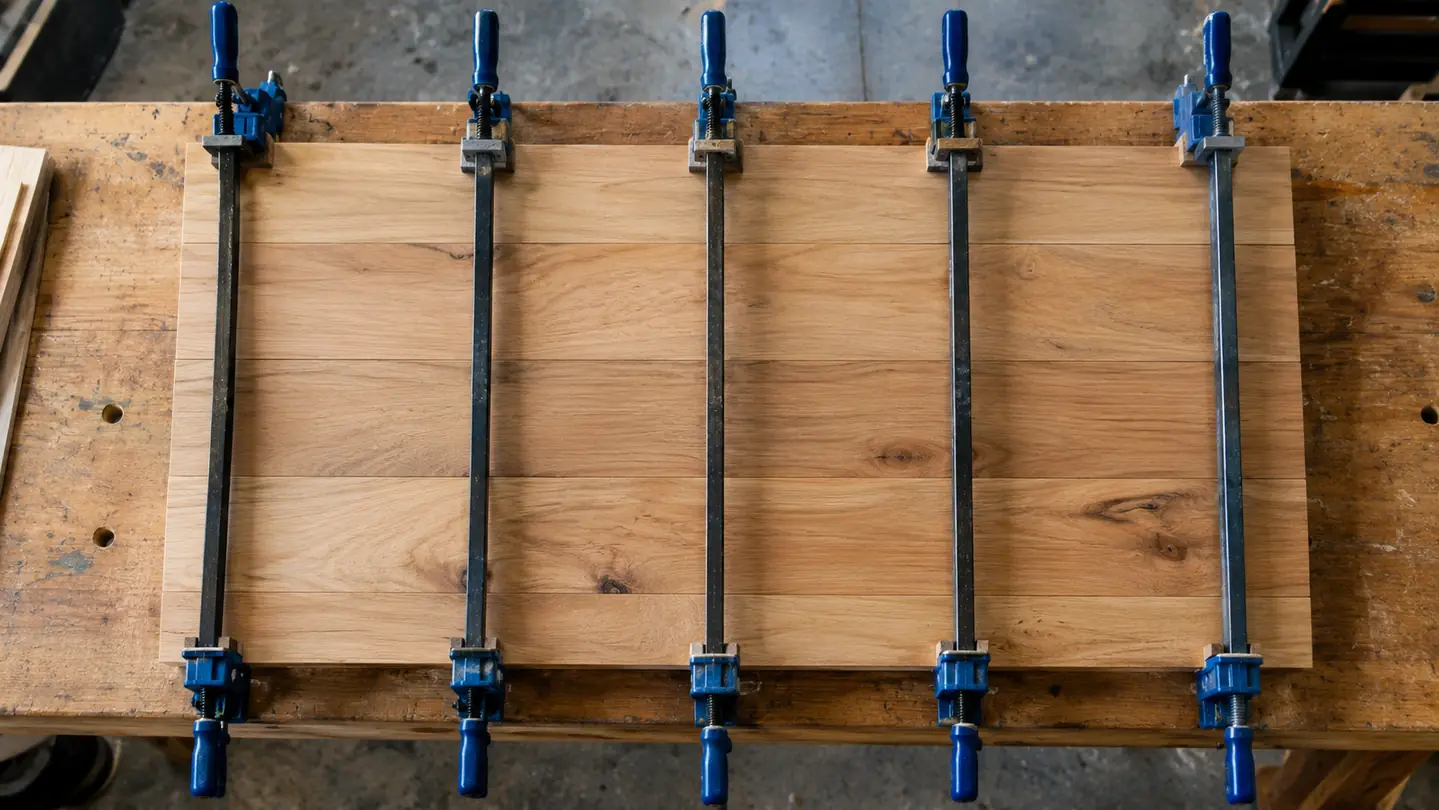
This is the step most people skip, and it is the one that saves the most frustration. Before I mix anything or squeeze a single drop of glue, I lay out my IRWIN Quick-Grip clamps along the panel the way I will use them. I put one clamp every six to eight inches, alternating above and below the panel. That alternating pattern pulls the boards together evenly instead of bowing the whole panel like a shallow dish. The first time I tried a glue-up with these clamps, I set all four on top of the panel and the middle joint opened up like a grin. A friend who builds cabinets on weekends told me to alternate above and below. The next try, two clamps underneath and two on top, spaced about seven inches apart, came out flat enough that I only needed light sanding.
The 6-inch mini bar clamps are a good fit for panels up to about 12 inches wide. For a wider panel, I add a couple of longer clamps across the ends or use a caul, a straight board laid across the panel, to spread the pressure. The mini clamps do the real work; the caul just keeps everything honest.
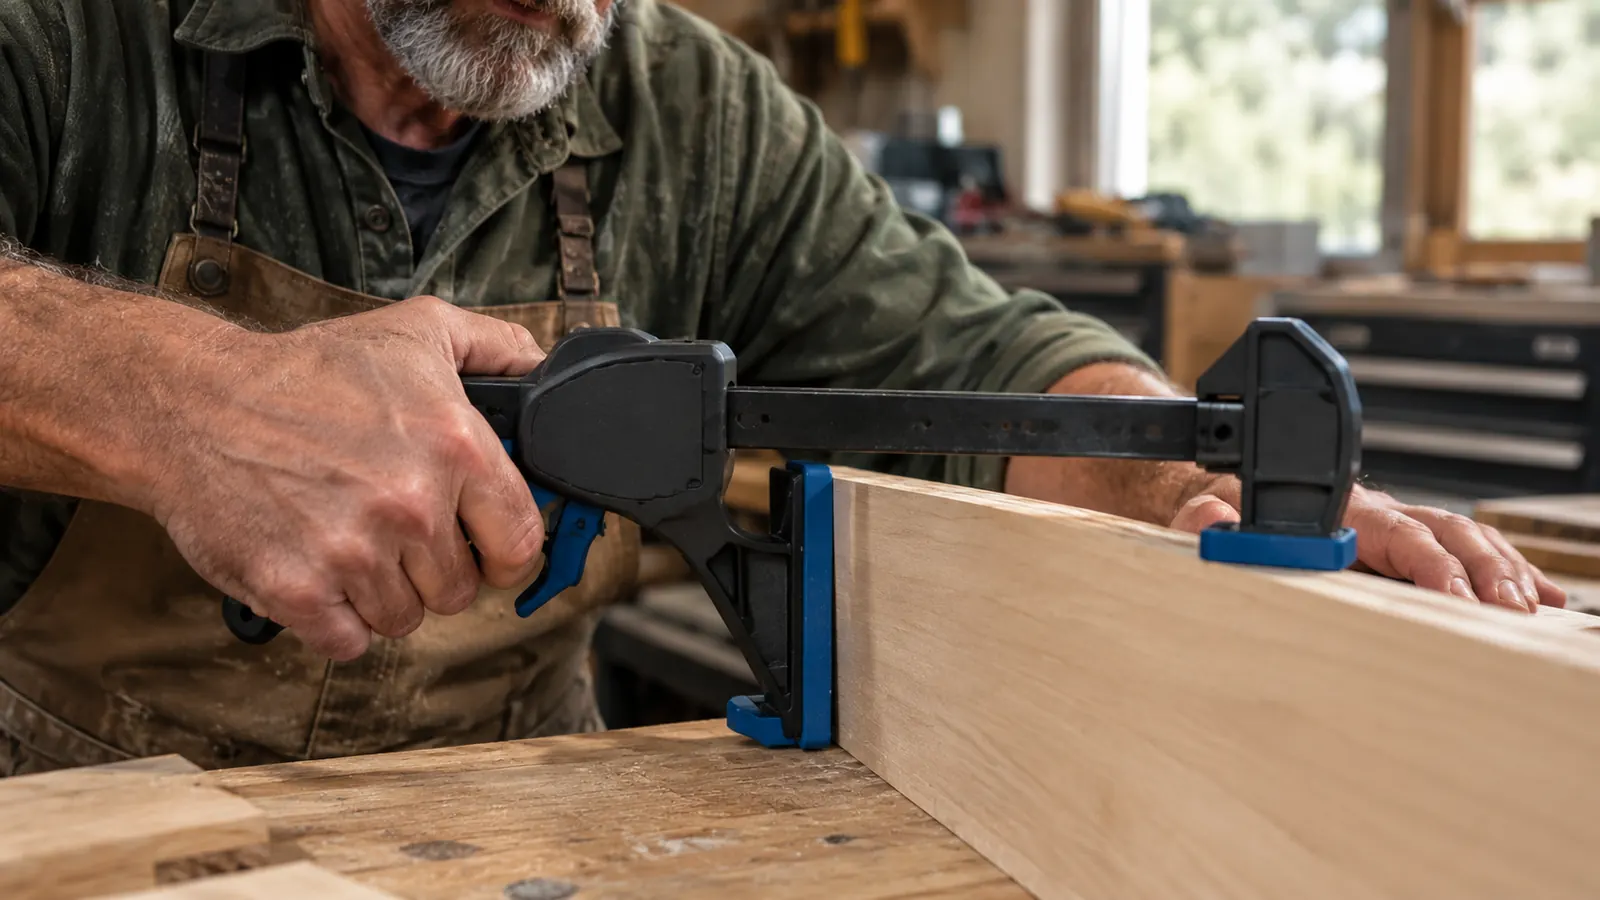
I also set the clamp jaws to roughly the opening I will need. The one-handed trigger makes this easy: squeeze the trigger to slide the jaw in, press the release button to let it out. Having them pre-set means I can move fast once the glue is on, and speed matters more than people think. I wrote the spacing on a scrap of pegboard that hangs above my workbench: six to eight inches, alternate sides. It sounds like a small thing, but it keeps me from guessing in the middle of a glue-up.
Step 4: Apply the glue and clamp it up
I use a yellow wood glue for most panels. I run a thin, even bead down one edge, then spread it with a small brush or a scrap of cardboard so the whole surface is covered. You do not need a thick layer. The glue is there to fill the tiny gaps between the fibers, not to act as a filler for a bad joint. Too much glue just means a messier cleanup and a weaker bond.
Now the IRWIN clamps earn their keep. I start in the middle of the panel and work outward, squeezing each clamp just until I see a thin, even bead of glue squeeze out along the joint. The trigger lets me do this one-handed, which matters when you are holding a panel together with your other hand. I tighten a little at a time, going back and forth, so the pressure builds evenly. A maple bench top I glued up in January taught me the overtightening lesson. I cranked every clamp until the trigger would not move, left it overnight, and came back to a joint that read like a crack because the glue had been squeezed out. I had to cut the panel apart and start over.
Here is the part I wish someone had told me years ago: you do not need to crank the clamps down as hard as they will go. The goal is firm, even pressure, not maximum force. If you overtighten, you can squeeze all the glue out of the joint and leave the wood starving for a bond. I tighten until the glue line looks uniform, then I stop. The trigger on the IRWIN clamp gives you enough control to add pressure a little at a time, which is exactly what you want.
Step 5: Let it cure, then clean up
I leave the panel clamped for at least an hour for most yellow glues, and overnight when I can manage it. The bottle will tell you its own timing, and I have learned to trust it. While the glue dries, I wipe the excess off the surface with a damp rag. It is much easier to clean glue while it is still wet than to sand it off after it has hardened. I found that out on a shelf panel in June. I took the clamps off after about forty-five minutes because I was in a hurry, and one end of the panel sprang open. I reglued that end, clamped it overnight, and it came out flat. Now I set a timer for an hour minimum and leave it overnight whenever I can.
When the clamps come off, I scrape away any dried glue with a chisel held flat, then sand the panel with the grain. I start with 80 grit to knock down the glue lines and the slight step between boards, then move to 120 and 150. The panel should feel like one piece of wood, because that is what it is now.
The IRWIN Quick-Grip clamps clean up with a damp cloth. The pads stay put, the trigger mechanism keeps working, and the release button does not stick. I have had my set for a couple of years now, and they still feel as tight as the day I bought them. That is the kind of tool I do not mind spending money on. I keep them on a pegboard hook above my workbench, not buried in a drawer, because they are the clamps I reach for on almost every project.
What Else Helps
A few extras make a glue-up go smoother. A straightedge, a good square, and a damp rag are the basics. I also keep a rubber mallet nearby to tap boards into alignment while the clamps are still loose. If you glue up panels more than a couple of times a year, a couple of longer bar clamps and a set of cauls will take you further than any single fancy tool. And if you are shopping for your first clamps, the IRWIN Quick-Grip mini bar clamp 4-pack is the set I would buy again tomorrow. I also keep a small notepad and a pencil on the bench to jot down the glue brand and the date, because I have more than once come back to a project and forgotten how long it had been clamped.
You do not need to crank the clamps down as hard as they will go. Firm, even pressure beats maximum force every time.
Start your next glue-up with clamps that actually cooperate
The IRWIN Quick-Grip one-handed mini bar clamps are the ones I keep within arm's reach on my workbench. They squeeze one-handed, release with a button, and hold a panel flat while the glue does its job.
Amazon Check Today's Price on Amazon →